XCP-ng installation with Xen Orchestra and XO Lite
Introduction
Section titled “ Introduction”With the recent release of XCP-ng 8.3, I found it intriguing to explore XCP-ng in tandem with Xen Orchestra for managing hosts and pools, as well as experimenting with XO Lite.
To that end, I acquired a compact Asus NUC 14 Pro (featuring an i5 processor, 64MB RAM, and 2.5Gbe). If XCP-ng proves satisfactory, it could potentially replace the aging hardware currently running Proxmox.
Requirements
Section titled “ Requirements”Make sure the UEFI Allow UEFI 3rd party driver loaded option is enabled and the Secure Boot option is disabled.
XCP-ng Installation
Section titled “XCP-ng Installation”To a large extent, I followed the installation as described in the XCP-ng documentation.
- Download the latest ISO, you can find the 8.3 image here
- Create the USB media, for example with Rufus and make sure you select
ddto write the image after pressing theSTARTbutton - Initiate the host and boot from the USB media, then proceed through the installation process. Here are a few choices I made along the way:
- VM Storage Selection: I used thin provisioning (
EXT). With thin provisioning you only use the space your VM has filled with data. With thick provisioning you use the space of your VMs disk(s) size. You can read more about storage types here - Networking: I used the
Automatic configuration (DHCP)option and did not selectUse VLAN. Within my Unifi network, I preconfigured the host (based on the MAC address) as a device with a fixed IP address, allowing DHCP to assign it accordingly. If you’re using VLANs, you need to configure the host’s switch port to the required VLAN, such as a server VLAN. - Hostname configuration: I used the same name as the network device I created (see above).
DNS ConfigurationisAutomatically set via DHCP - System Time:
Use default NTP servers
- VM Storage Selection: I used thin provisioning (
Using XO Lite
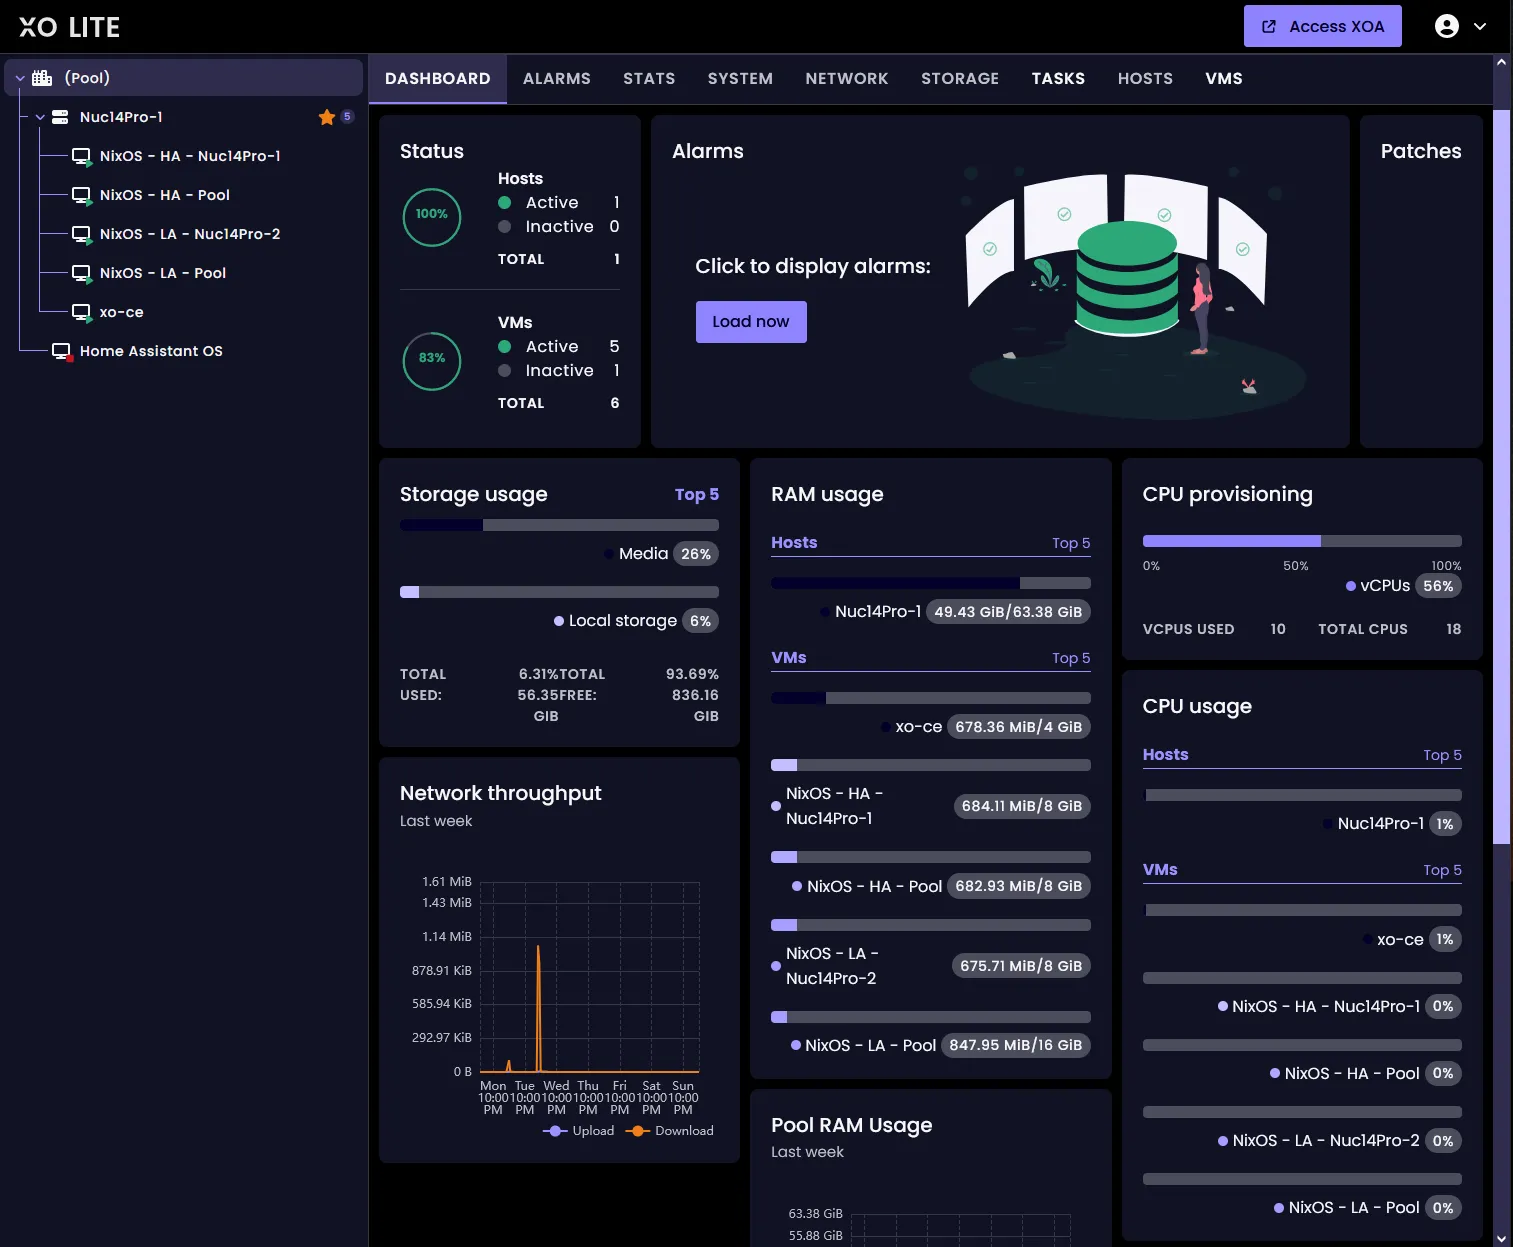
Section titled “Using XO Lite”Xen Orchestra Lite is a lightweight version of Xen Orchestra meant for single-host administration, running directly from your browser without having to deploy anything, hosted on XCP-ng directly.
Once the installation of XCP-ng is complete, you can access XO Lite by navigating to the IP address of XCP-ng in your browser.
Initially, my plan was to create a VM for Docker containers using XO Lite and then deploy Xen Orchestra via Docker. However, I discovered that creating a VM via XO Lite was not yet possible. As a home user and enthusiast with a simple environment, I decided to try the prebuilt Debian 11 image from this highly appreciated repository, which comes with Xen Orchestra and XenOrchestraInstallerUpdater pre-installed.
Screenshot of XO Lite included with 8.3 (the configuration has already taken place and the VMs have been created with Xen Orchestra):
Xen Orchestra Installation
Section titled “Xen Orchestra Installation”As mentioned earlier, I opted for the prebuilt Debian 11 image. While this choice requires some trust in the maintainer, I decided on this alternative to the Docker container after conducting some research.
-
Connect to the XCP-ng host via SSH and log in. I used Putty for this purpose
-
Run the following command:
# Open your terminal applicationsudo bash -c "$(curl -s https://raw.githubusercontent.com/ronivay/XenOrchestraInstallerUpdater/master/xo-vm-import.sh)"# Used settings:# **Which storage repository?** The option with the GUID and not default# **Which netwerk should the VM use?** The `pool-wide network associated with eth0` -
Follow the instructions and browse to Xen Orchestra when the installation has finished
Using Xen Orchestra
Section titled “Using Xen Orchestra”- Log in to the web interface using the default credentials, then update the
[email protected]username to your own and change the password. Additionally, log in via SSH and change the password for thexouser - Go to
Settings>Serversand add the XCP-ng host with userrootand enableUnauthorized Certificates - For more information please see the Xen Orchestra Documentation
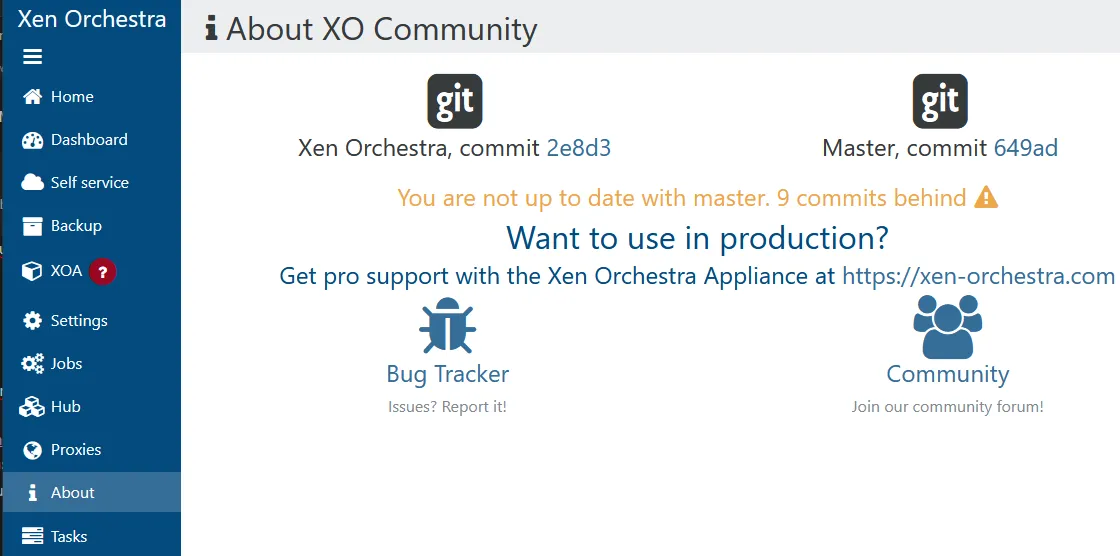
Install the updates when Xen Orchestra is not up to date with the master branch (you may optionally create a snapshot of the xo-ce VM beforehand):
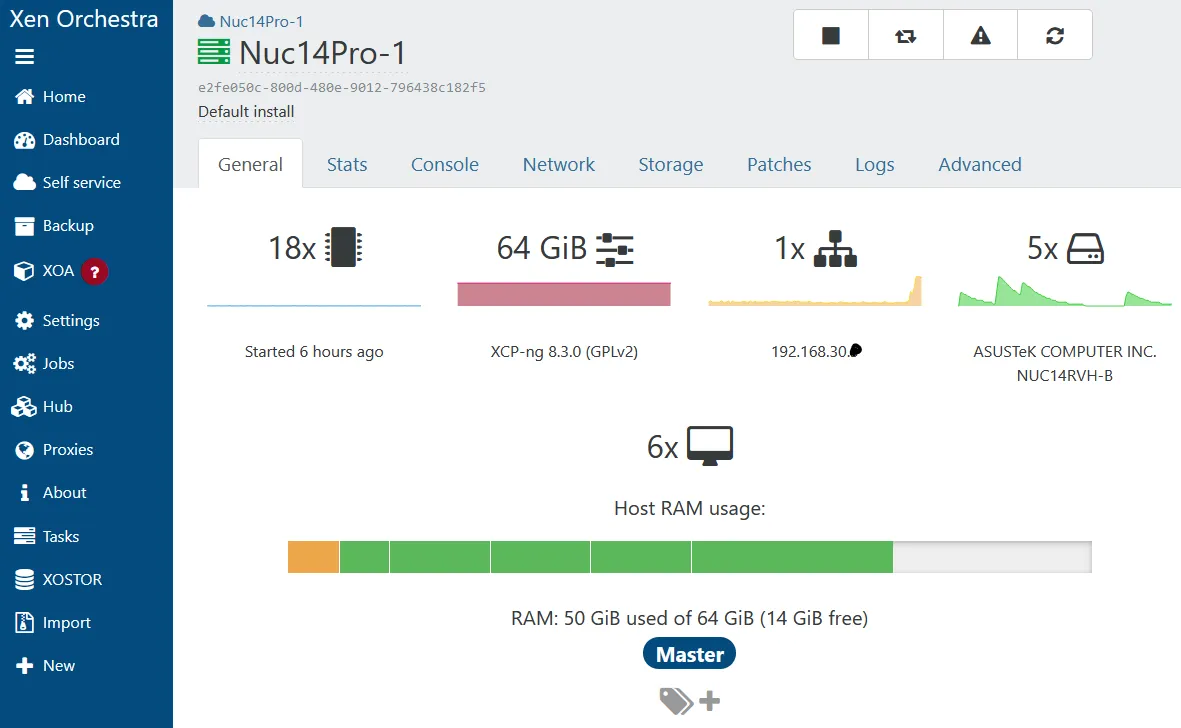
Screenshot of the host:
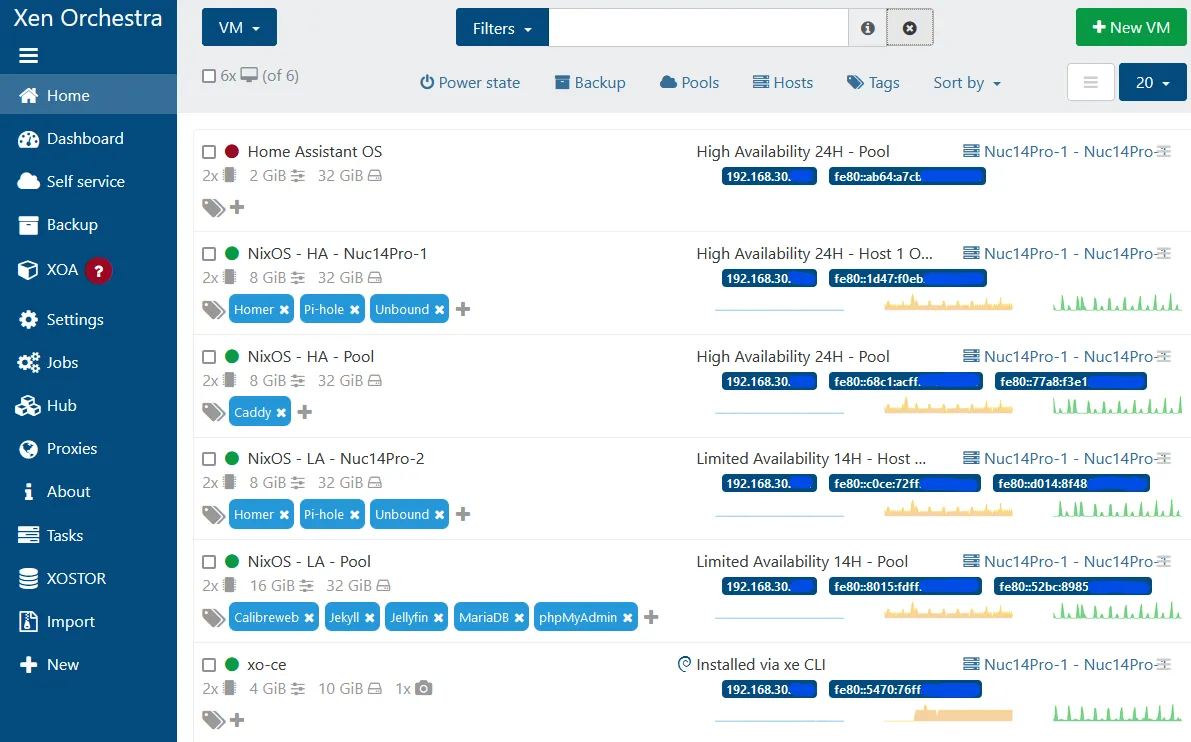
Screenshot of the virtual machines, I’m using tags to represent the containers:
No comments found for this note.
Join the discussion for this note on Github. Comments appear on this page instantly.